How to Film a Self-Tape at Home: A Simple Setup for Actors
7/26/2026
You do not need a dedicated studio to make a clear, professional self-tape. A phone, a quiet room, a simple background, and a reliable reader are enough for most auditions.
The aim is not to make a short film. It is to remove distractions so casting can see your face, hear your voice, and follow the scene. Always treat the instructions in the audition request as the authority. When they do not specify every detail, use the setup below.
Start with the casting instructions
Before moving furniture or learning lines, make a short list of the requirements:
- Deadline and time zone
- Scenes and pages requested
- Landscape or portrait orientation
- Framing, slate, wardrobe, and accent notes
- File name, format, size limit, and delivery method
Check that you have the latest version of the sides. A polished take of an outdated scene is still the wrong submission.
Choose the quietest useful space
Look for a room where you can control sound and light. Soft furnishings help reduce echo, while kitchens and empty rooms often make voices sound harsh. Turn off fans, televisions, notifications, and noisy appliances.
You need enough distance between yourself and the background to avoid a large shadow. You also need room for the camera to frame you as requested. Test the space at the same time of day you plan to record; traffic, neighbours, and daylight can all change.
Keep the background simple
A plain wall or uncluttered backdrop usually works. Neutral blue, grey, and warm off-white are common choices because they separate the actor from the background without demanding attention.
Avoid visible doors, bright windows, mirrors, family photographs, and objects that appear to grow out of your head. You do not have to buy a professional backdrop if a clean wall already gives you an undistracting frame.
Put the camera at eye level
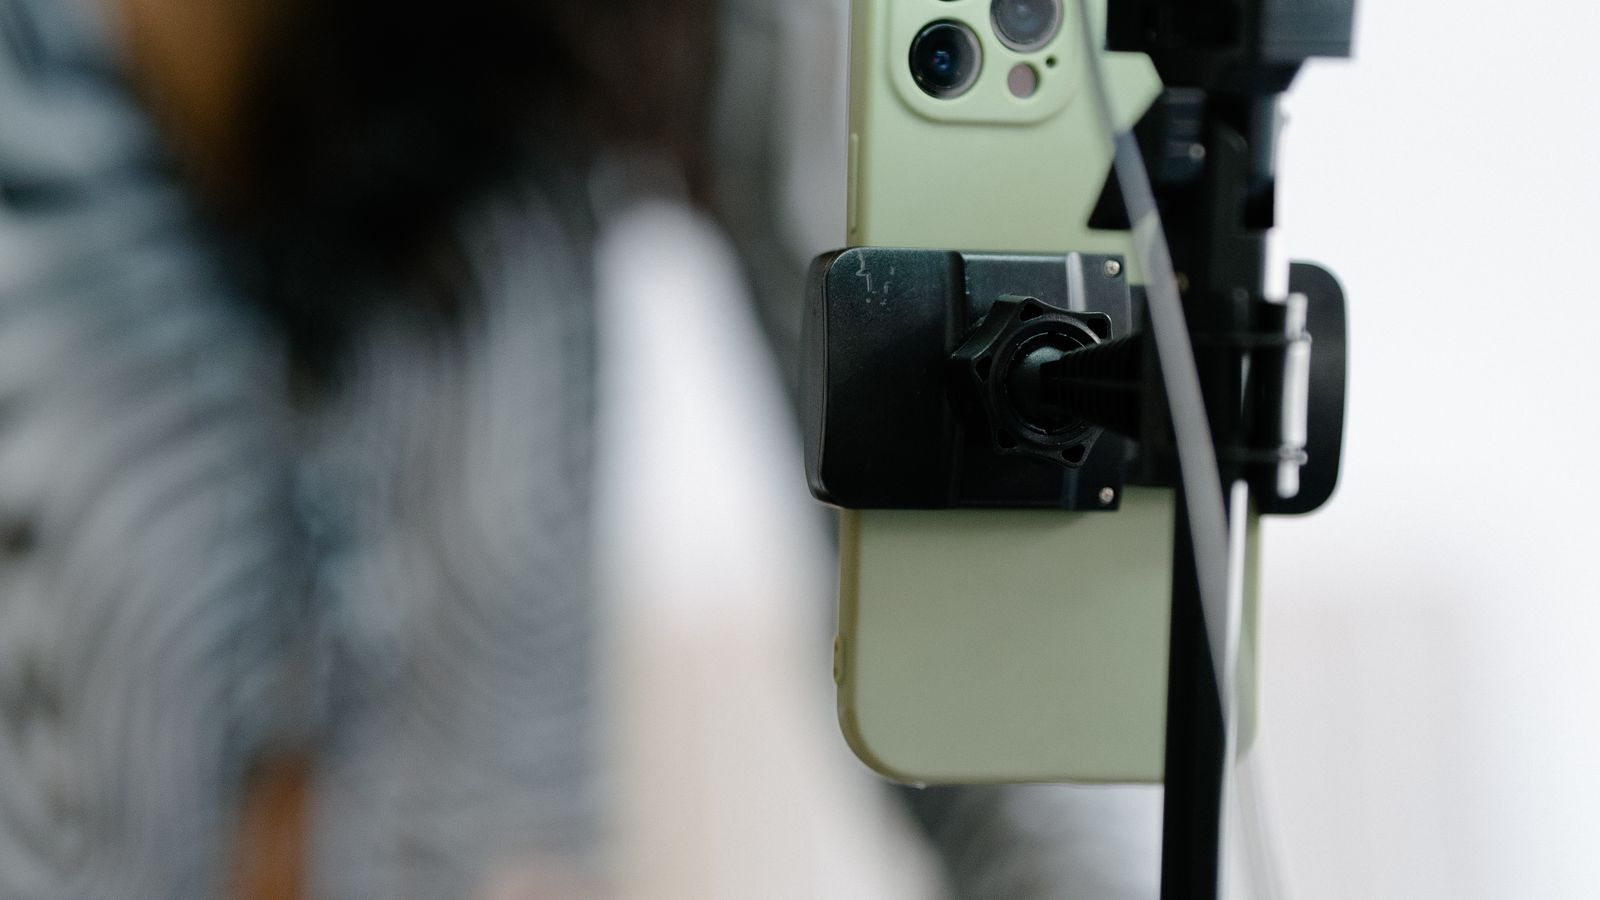
Use a tripod, shelf, or stable stand. Do not hold the phone or balance it somewhere it can move during the scene. Place the lens close to eye level unless the brief asks for a different angle.
Clean the lens before filming. Use the rear camera if you can frame and operate it reliably, but a well-lit, stable front-camera image is better than a technically sharper setup that keeps interrupting the work.
Frame for the performance. A medium close-up often gives casting a clear view of your eyes and facial reactions, but follow any requested shot size.
Light your eyes, not the room
Face a window with indirect daylight or place a soft light slightly above and in front of you. The important test is whether both eyes are visible without harsh shadows or blown-out highlights.
Do not put a bright window behind you. Avoid mixing very orange household lamps with cool daylight when possible. Once the lighting works, mark where you and the camera stand so it can be repeated.
Place the reader near the lens
Your reader should usually be just beside the camera, not across the room. This gives you a connected off-camera eyeline while keeping your face open to the viewer. Do not look directly into the lens unless the instructions request it.
If another actor is unavailable, you can use a responsive AI reader. Import the sides, choose your character, assign the other role a voice, and run the scene before recording. Keep the playback device near the intended eyeline and test its recorded volume.
Record a complete technical test
Film at least one short exchange, then watch it with headphones. Check that:
- Focus and exposure stay stable
- Your eyes are clearly visible
- Your voice is clean and louder than the reader
- The reader sounds off camera rather than inside the camera
- The background and clothes do not pull focus
- No notifications or equipment appear in frame
Fix technical problems before you spend your energy on full takes.
Make a few intentional takes
Do not record the same performance repeatedly and hope one version feels better. Give each take a playable adjustment: protect the secret more, need the answer sooner, or let the other person's words land before responding.
Choose the take with the clearest relationship and strongest scene journey, not automatically the one with the fewest tiny imperfections.
Check the exported file
Watch the final file from beginning to end. Confirm that the orientation, framing, sound, filename, and file size match the request. Upload early enough to recover from a slow connection, and keep the original until the submission is safely confirmed.
A dependable home setup should become boring in the best possible way. Once the camera, light, sound, and reader work together, your attention can return to acting.
Import your sides and practise with a responsive reader in Self-Tape Studio.