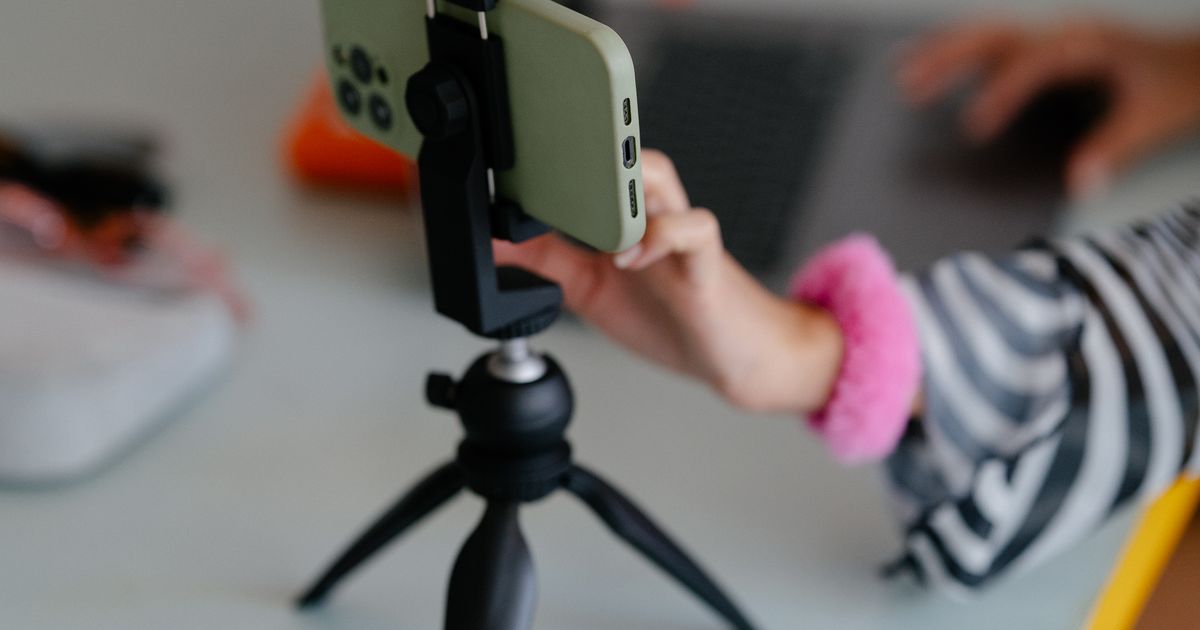
How to Self-Tape Alone: Record an Audition Without a Reader
9/23/2026
To self-tape alone, prepare your sides, set your camera and eyeline, test the reader audio, then record and review a complete take before submitting.
Working by yourself means you are both the actor and the person checking the recording. The useful habit is to separate those jobs: settle the technical setup first, then give the scene your attention. This walkthrough takes you through a solo session using an AI reader for the other characters.
If you are still deciding between AI, prerecorded lines, and a remote human reader, start with the different ways to self-tape without a reader in the room. Here, the focus is on operating the session once you have chosen your reader.
1. Turn the audition brief into a recording plan
Read the request before opening the camera. Note which scenes you need, the deadline and time zone, any slate requirements, and the requested framing, orientation, file format, and filename. Follow any instructions about using a reader.
Keep that short list beside your setup. When nobody else is there to check the brief, it is easy to finish a scene and discover that a second scene or separate slate is missing.
Read all of the audition sides, including the other characters' dialogue. Decide what your character wants and what changes during the exchange. For deeper preparation, use the guide to rehearsing audition sides alone.
2. Choose how you will record and hear the other lines
You need a stable camera and a way to hear your scene partner. Choose the arrangement you can operate reliably:
- Record within the reader app: rehearse and capture your take in the same workflow. Test camera and microphone permissions before performing.
- Use a separate camera or phone: run the reader on another device beside the lens. Check that the camera's microphone captures both your voice and the reader clearly.
Self-Tape Studio lets you import your sides, choose the role you play, assign AI voices to the other characters, and rehearse before recording. If this is your first session, try a demo scene to learn the controls before working on your audition.
Do not assume that hearing the reader yourself means it will be audible in the saved video. Headphones, speaker volume, and your recording arrangement can change what gets captured. A short test recording is the deciding check.
3. Set an eyeline you can find without watching yourself
Place the camera securely near eye level and frame yourself according to the brief. Put a small eyeline marker just beside the lens, then mark your standing or sitting position so you can return after starting a take.
Keep the reader device close to that eyeline where practical, with controls within reach before you begin. You should not need to look down at playback buttons during the scene. If you are using a screen to frame yourself, check the image before the take and then return your attention to the imagined person beside the lens.
Record a few seconds from your performance position. Check that your eyes are visible and that a natural lean or gesture stays within the intended frame. The self-tape eyeline guide goes into more detail about where to look, including scenes with several characters.
4. Run the reader through the difficult cues
Before filming, check the imported dialogue and character assignments. Your lines should belong to you; the other roles should have the intended voices. Listen for any scene directions that should not be spoken as dialogue.
With an AI scene partner, test the moments most likely to interrupt the exchange: a quiet line, an unfamiliar name, a long pause, or a quick response. In Self-Tape Studio, automatic mode uses speech recognition to follow your dialogue. Run the entire scene to check that the cues advance with your delivery.
If a cue stalls or arrives too soon, stop and resolve it before recording another full take. Check the microphone, surrounding noise, and imported text. Repeating the whole performance without fixing the cause uses up energy you need for acting.
For an explanation of responsive cueing and its limits, see how an AI line reader for actors works.
5. Make a technical test from your actual position
Start recording, return to your mark, and play a short exchange at performance volume. Include a quieter line and a louder moment if the scene has them. Stop and play back the saved test.
Check three things separately:
- Picture: your face is visible, the framing holds, and focus does not drift when you move.
- Sound: your words are clear, the reader is audible but less prominent, and there is no distracting echo or distortion.
- Operation: you can start the scene, settle into position, and finish without reaching for controls mid-line.
If you change the speaker volume, microphone, camera position, or recording device, repeat the short test. The earlier check only tells you that the earlier arrangement worked.
6. Record a complete take, then make one adjustment
Once the setup works, run the scene from beginning to end. Give yourself a moment to settle after starting the recording and let the final moment finish before reaching for the controls.
Avoid stopping automatically for every tiny hesitation. Finish the exchange unless a technical problem or missed section makes the take unusable. You can judge the whole scene more fairly on playback than while trying to perform and monitor yourself at once.
Review the take for a specific reason. First check that it is usable; then look at whether the relationship and changes in the scene are clear. Choose one adjustment for the next pass, such as listening longer or pursuing an answer more directly. Keep the camera and reader settings stable while you explore that choice.
If repeated viewing makes the decision harder, use the guide to choosing your best self-tape take.
7. Check the file you will actually submit
Open the saved or exported file and watch it all the way through. Check the start and end, both voices, the orientation, and any slate required by the brief. Confirm the filename and file format before uploading.
Keep the original until you have confirmed that the submission went through. Allow time to open the uploaded preview if the platform provides one; selecting a file is not the same as completing the upload.
For a final check against the audition request, use the last-minute self-tape checklist.
Self-taping alone becomes easier when the camera, reader, and controls have already passed their test. Then your task during the take is simple: listen, respond, and stay with the scene.
Practise the solo workflow with a Self-Tape Studio demo scene.